Halloween is not only about costumes, spooky ghosts and trick or treating. It is an opportunity for families to bond, I guess that’s why so many families do it. It is a moment for families to share crafting, decorating and baking, a moment to join neighbours and savour the sweets. If you’re anything like me, I can only assume that you’d want to stay away from Halloween because of the symbols associated with it. I am not a fan of dark macabre things, that is why I always make Halloween colourful and fun.
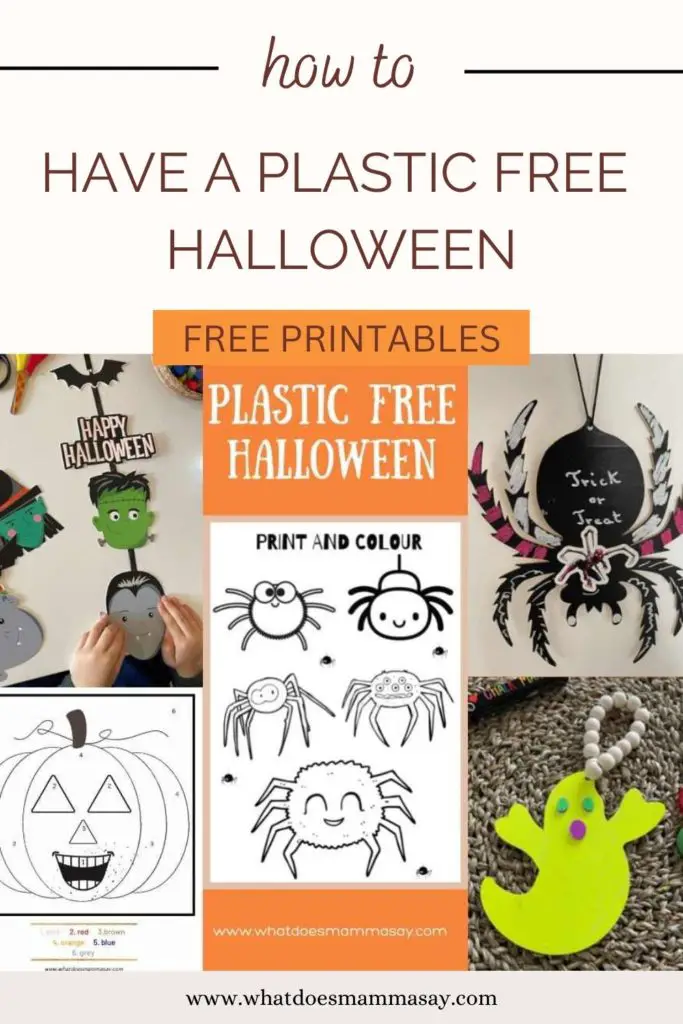
If you think your young ones would enjoy some plastic-free Halloween decorations with you, take a look at these 5 Halloween colourful crafts that we tried this year. My 4 year old had sooo much fun, mostly because he actually got to do ALL of it, I did not help in any shape or form and I think this kind of independence is so important at this age.
This post may contain affiliate links and I may earn a small commission when you click on the links at no additional cost to you. As an Amazon Affiliate, I earn from qualifying purchases. You can read my full disclosure here.
How to choose Halloween crafts kids can actually make
Finding Halloween crafts is not at all difficult with the multitude of ideas available online, these days you are nowhere short of inspiration. The tricky bit is choosing plastic-free Halloween crafts that your little one can actually enjoy. I strongly believe that children feel happier and more willing to try out things when they have the feeling that what they do is meaningful to them.
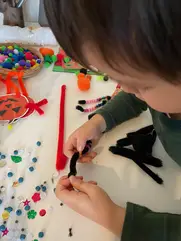
So, the first step is to select the crafts that adapt to your child’s abilities. If they involve cutting and your child cannot hold the scissors yet, then I would advise to choose something that does not involve cutting, it’s as simple as that. Their feeling of achievement will make the activity more enjoyable and will motivate them to continue. Secondly, when children get to actually do the task rather than have us do it for them, they feel empowered and motivated to give it a go. Therefore, you can serve as a model and demonstrate each step of the way so that your child can learn by practicing what he/she sees.
And thirdly, choose the activities only as a means to an end, the end result being you bonding more with your child, spending quality time together. So what if you didn’t finish the project? Or the legs of the spider fell off? Did you get to share a cuddle and a laugh with your little one? Then mission accomplished. Your children need to know this as well, so stress this out for them, verbalize it, enjoy it, show them how much you appreciate this time together.
What you’ll need for these plastic-free Halloween crafts
Before you start make sure to gather all the things you’ll need and have them ready so your little one can access them easily and without your help. You might need:
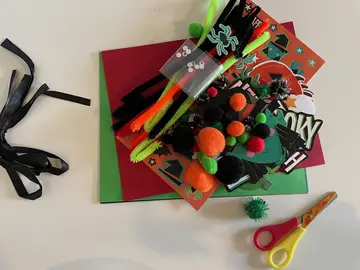
- black and orange pipe cleaners
- small and large pompoms
- small wooden pieces for decorating
- various Halloween pictures (pumpkins, bats, black cats, hunted houses, etc)
- black string
- glue
Of course, you could add any other elements you wish depending on the crafts you have in mind. These are the ideas we tried based on my son’s abilities, he can cut, glue and lace small objects on a string. You need to focus on your own child’s abilities and choose crafts that are not above his/her skills level. There are amazing Halloween crafts out there, our personal favourite being Cheap Halloween DIY by Oprah Daily.
5 Simple Plastic-Free Halloween Crafts for Little Ones
1. Silly Halloween Pumpkin
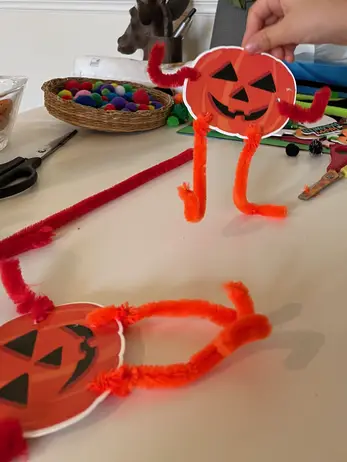
You can find great Halloween pumpkin pictures online. Simply print them and have your little ones colour them in and cut out the shapes. I then laminated the pumpkins for durability and showed my son how to poke holes for the pumpkin’s legs and arms. I let him do it all by himself and even when he was unhappy with the result, I didn’t interfere. Let them make mistakes, get angry or upset, but encourage them to try again. Help them calm down first and then demonstrate it again and let them have another go.
We then used pipe cleaners and cut them in half to create the legs and arms. My son found it very easy to attach the limbs as he could simply twist the pipe cleaners at one end. We then played with the arms and legs and chose the desired position for each pumpkin. My son chose to hang the pumpkins on the door handles around the house, but I am sure you can find many other ideas for display.

2. Fun Halloween Spider
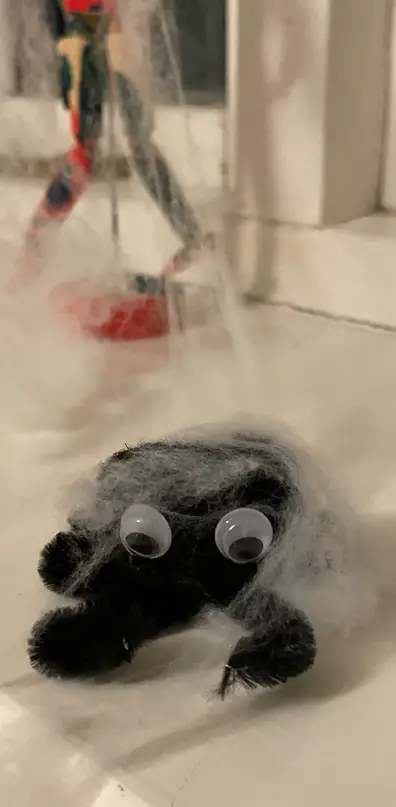
This is one of the easiest spiders you can make. Simply use a large black pompom and some pipe cleaners. Cut the pipe cleaners into equal sizes and twist them together two by two. Arrange the legs so that only the two front legs are forward facing while the others are evenly spread. Glue all the legs together and attach the large pom pom on top. I used blue tack for the pom pom and it was a great idea as it seemed to hold better than glue.
Finally, draw some eyes using chalk markers and you are done. You can choose to draw more eyes and make it scarier, we simply opted for two large ones. Maybe even decorate the spiders with spider webs to make it more believable. You can see the final result in the attached picture.
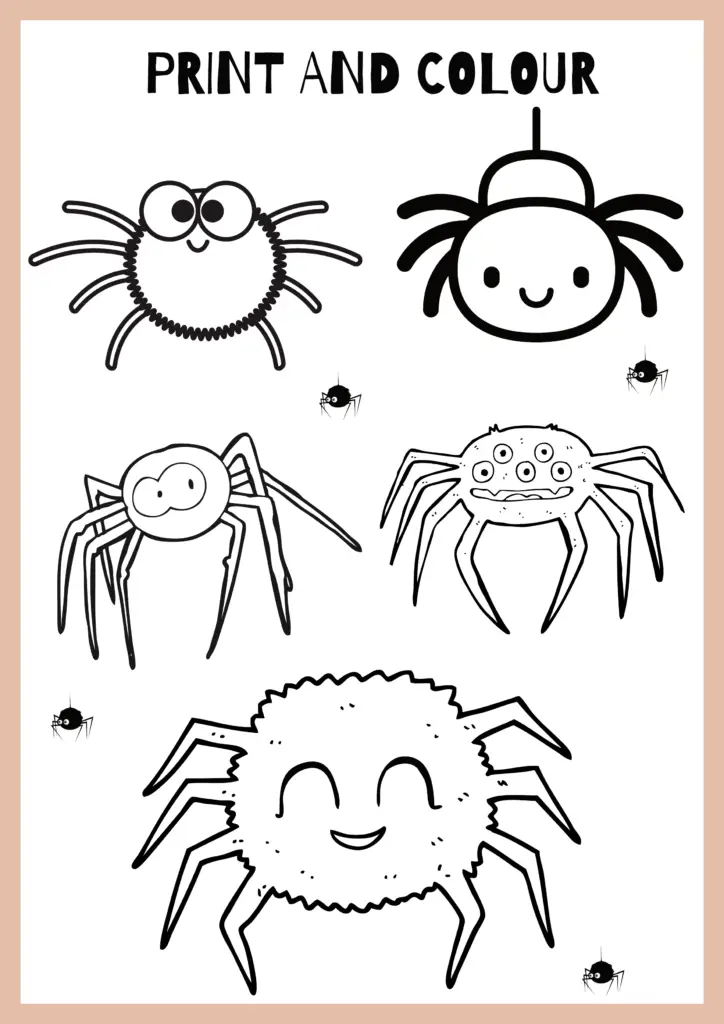
Or, for a simpler version of the spider, download the template below and let your little one colour and the cut out the spiders. You can laminate them or use them as such and allow your child to play with them at will: hide them around the house, glue them to a stick and turn them into puppets, display them on the door and use paper balls to knock them down.
3. Halloween String Decoration
I guess we came up with this idea because of our Christmas decorations. By the way, did you know there is a trend of Halloween Christmas popular now, with the reverse even possible, Halloween marries Christmas kind of thing? How do you feel about that? Given the mercantile face of both, I guess I could see it coming, but I am still struggling with it all. Maybe you find inspiration in this article on repurposing Halloween decorations for Christmas, it might be the next biggest trend coming out of this wicked merger.
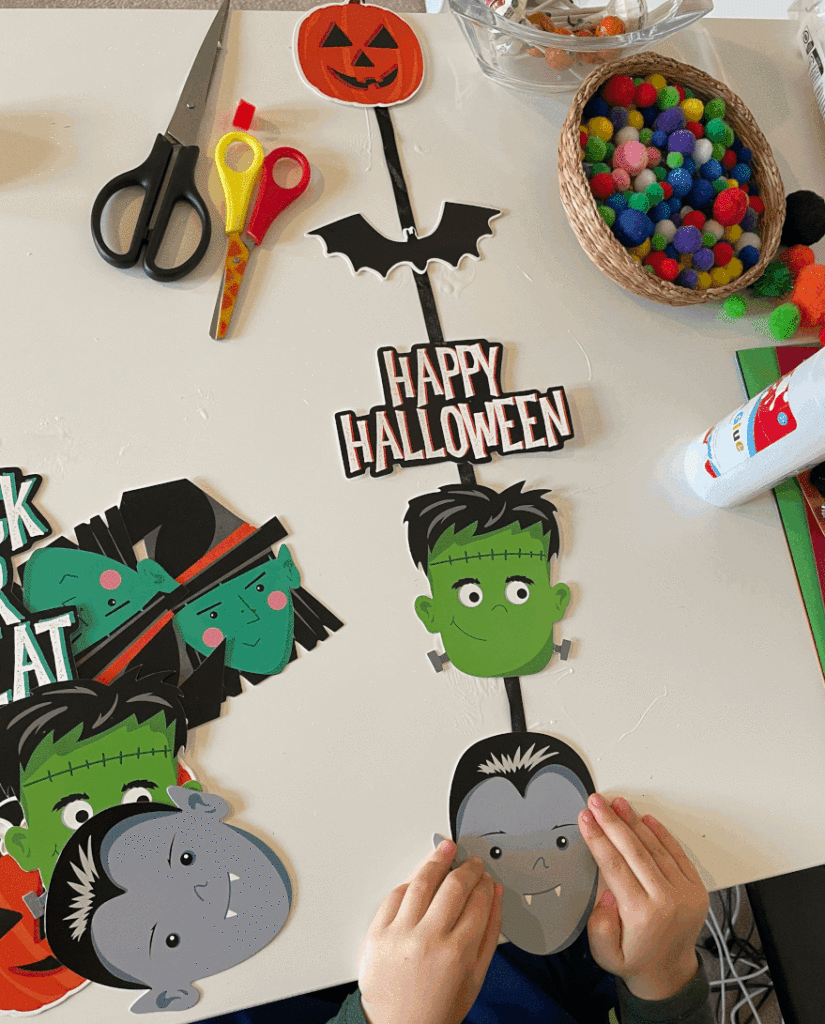
We printed some Halloween pictures, bought some others and cut them out. Then my son used glue to attach the pictures on a black string and the decoration was done. It took us less then 5 minutes to make a garland which my son made completely on his own. I only helped him tie a knot to hang the decoration by the window. What do you think, would you give it a try?
4. Cute Halloween Ghost
We recently moved to a small town and as I was exploring the nearby shops, I came across a lovely little shop that offers loads of materials for a variety of hobbies. Amongst the things I bought recently were some Halloween wooden decorations that little ones can personalise. My son really loved this cute little ghost on a string that he painted and decorated with stickers. He then added details using these amazing chalk markers that he received on his birthday.
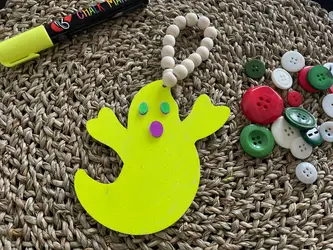
He liked the ghost so much that we even named her and hung it on the front door for all neighbours to see. I personally like wooden decorations because we want to stay away from plastic as much as possible. According to The World Counts, toys represent the leading industry in plastic use, with 90% all toys on the market being made of plastic.
5.Trick or Treat Halloween Sign
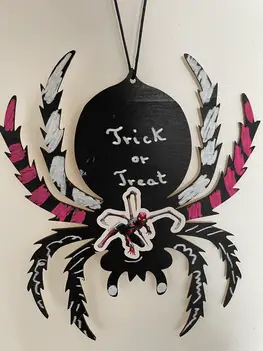
Another plastic-free Halloween decoration that we loved was this giant wooden spider what we used as a trick or treat sign for the front door. We painted it with chalkboard paint and then decorated it using colourful chalk. I did the writing and my son did the drawing. We then added a string and we were done. How simple is that?
If you have the inspiration and resources, you can create any imaginable trick or treat sign. The important thing is to give your little ones the opportunity to take part in the making as much as possible.
Want more Halloween inspiration?
If these 5 Halloween crafts were not enough, fear not, we have you covered. If you need a Halloween printable, try our I Spy Halloween 4-in-1 printable game. Maybe you need some Halloween games for very young children. In that case, try one or all of the 11 Halloween activities for preschoolers that are fun and easy to set up. We even made a selection of fun scary Halloween jokes to entertain little ones and grown ups alike.
OH, and don’t forget to count your candy. You could even try to group it into various categories: eat now, save for later, share with someone and maybe one for donations. We found these cute little plates for our selection of candy:

Also read:
Funny Scary Jokes for Halloween

Hi there! We are Cristina and Monica, moms, teachers and friends. Read more about us and our mission here.

